Pikachu Car Hanger
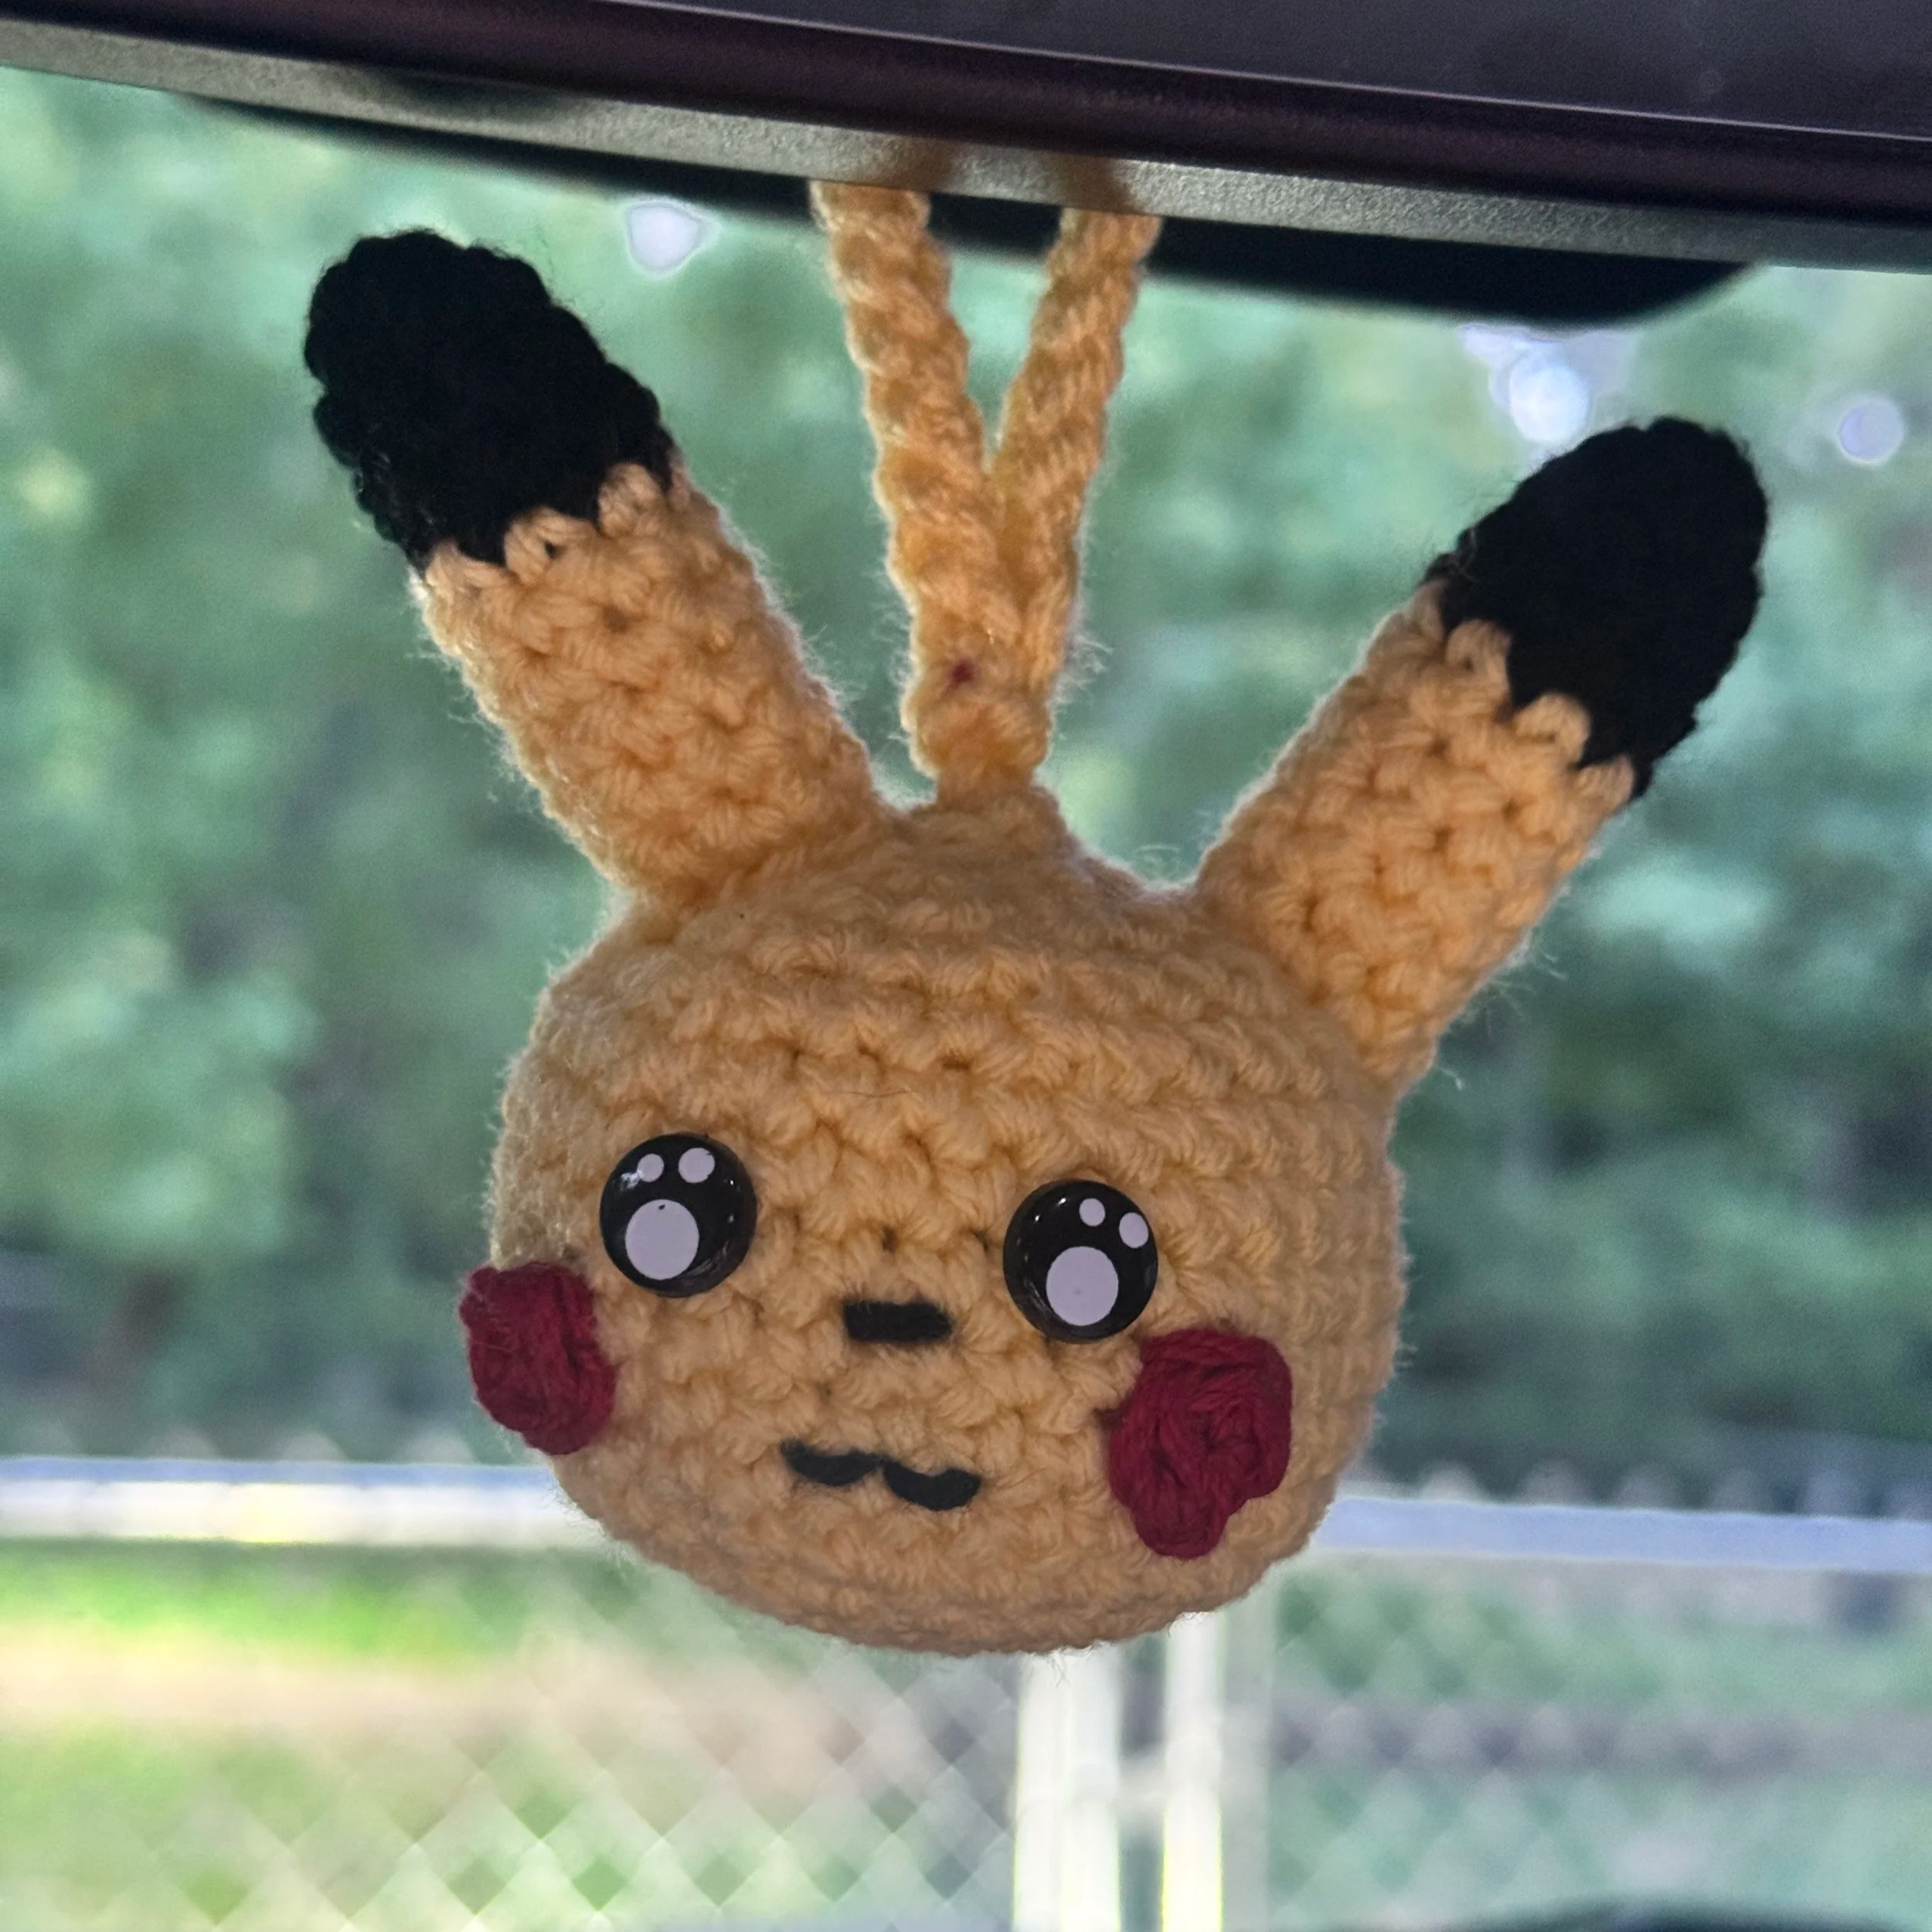
Materials:
4.5mm hook (G+)
8mm or 9mm safety eyes — or black felt circles if you prefer no plastic (I used these)
Yellow, black, and red worsted weight yarn
Polyester stuffing
Yarn needle
Optional: button or bead for bottom, stitch markers
Body:
With yellow
R1: Start with magic ring - 6sc (6)
R2: 6inc (12)
R3: (inc, sc) x6 (18)
R4: (inc, 2sc) x6 (24)
R5: (inc, 3sc) x6 (30)
R6-12: 30 sc (30)
R13: (inv dec, 3sc) x6 (24)
R14: (inv dec, 2sc) x6 (18)
Place eyes between rows 9 and 10 with 3 stitches between
Stuff body
R15: (inv dec, sc) x6 (12)
R16: inv dec x 6 - fasten off and leave long tail to sew closed
Ears: Make 2
Start with black
R1: start with magic ring - 4sc (4)
R2: inc x4 (8)
R3-4: 8sc (8)
Change to yellow
R5-11: 8sc - stuff lightly, fasten off, and leave long tail to sew to head
Cheeks: Make 2
With red
6 sc in magic ring then sl to first stitch to close. Leave tail to sew
Sew them centered below the eyes, slightly toward the sides.
Hanger:
With yellow, chain 40.
Slip stitch into the 4th chain from the hook (this creates the small hanging loop).
Single crochet in each remaining chain back to the beginning. Fasten off, leaving a long tail.
Use the tail to sew the straight end of the hanger between the ears on top of the head.
Sew a button or wooden bead at the very bottom of the chain near the base of the head.
Hook the loop over the button/bead, and you’re all done!
Assembly
Stuff the body firmly.
Sew the ears to the top of the head (between approx. rows 12–14), slightly angled outward.
Sew cheeks below the eyes.
Attach the hanger between the ears on top of the head.
Embroider a small mouth and optional eyebrows if desired.
Weave in all ends.